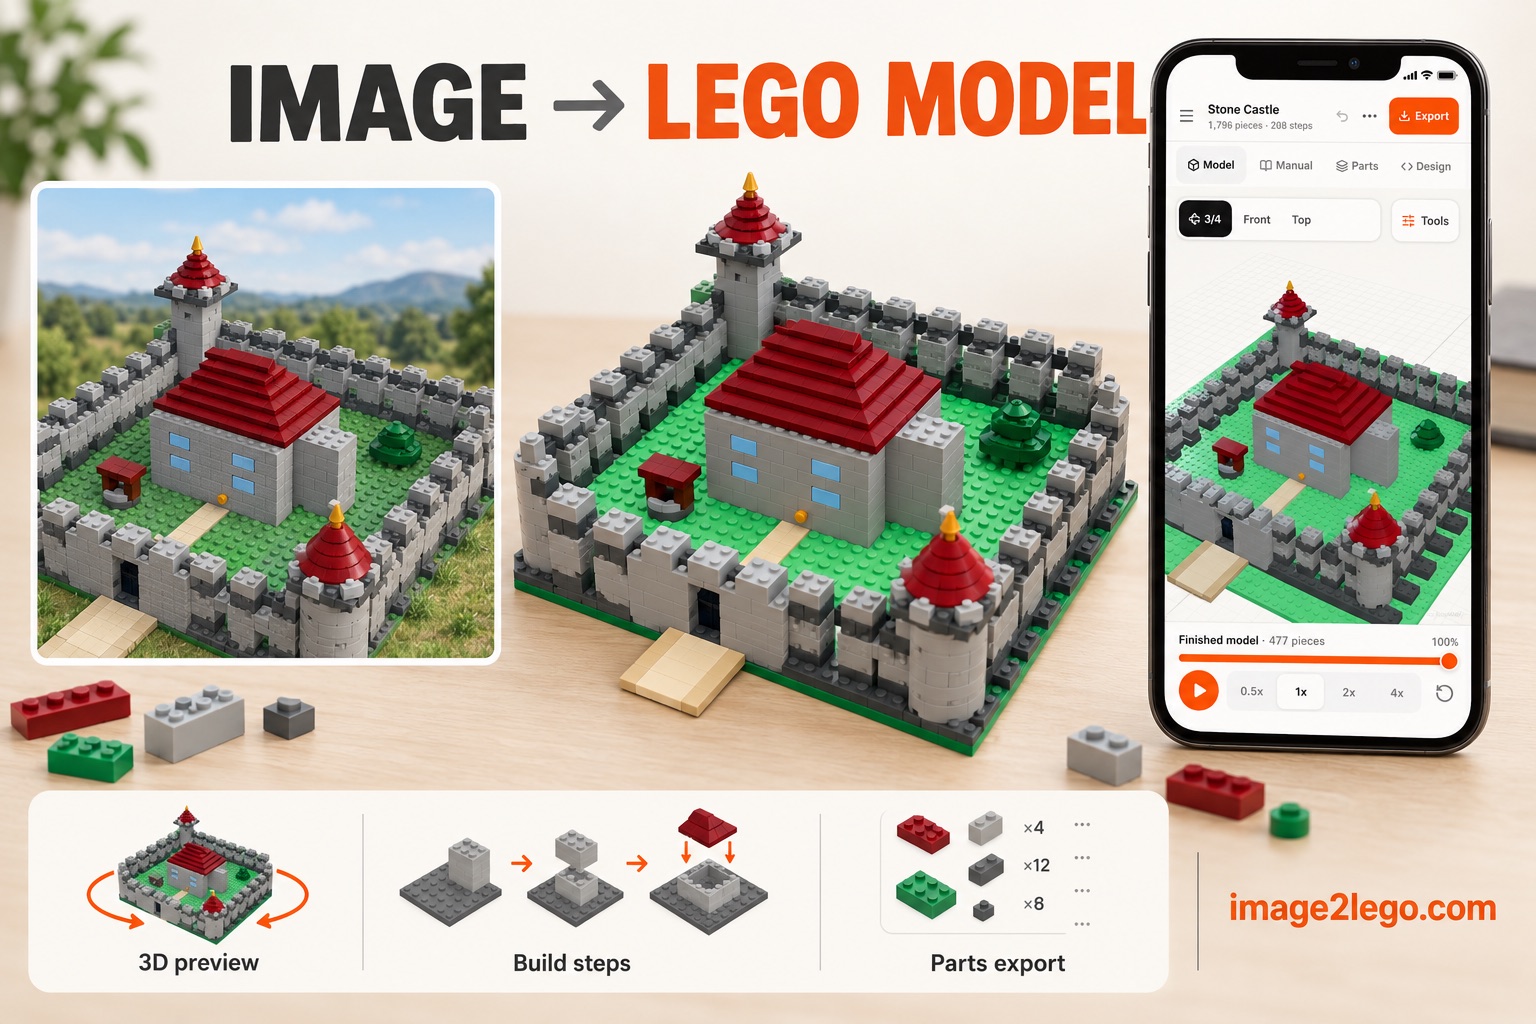
The shortest path is simple: upload a clear image, describe the model you want, inspect the generated 3D result, and export its instructions or parts data.
Open Image2LEGO, choose Start a new build, upload a JPG, PNG, or WebP image, add a short instruction such as “Create a compact 32×32-stud model,” and generate. Then use the Model, Manual, and Parts views before exporting.
For the full workflow and its limits, see the photo-to-bricks guide. The illustration above is a concept, not a before-and-after test or screenshot of a completed physical build.
Before you start: choose the right image
Image quality has a direct effect on how well the generated model preserves the subject. The best input is not necessarily the most artistic photo; it is the one whose structure is easiest to understand.
- Use one clearly recognizable subject
- Prefer a simple or separated background
- Choose even lighting and visible edges
- Avoid heavy blur and extreme perspective
- Show important colors and major features
- Start with a moderate model size
Buildings, vehicles, simple animals, logos, toys, and objects with a strong silhouette are easier than transparent objects, people, foliage, or highly reflective surfaces.
Turn your image into a brick model in six steps
Choose a clear reference image
Select a JPG, PNG, or WebP file under 10 MB. Crop mentally around the subject and check whether its silhouette remains recognizable at a small size. If the background is busy, use a closer crop before uploading.
Decide what the model should preserve
Choose the approximate footprint, detail level, and important features. A helpful instruction is: Create a compact 32×32-stud model. Preserve the red roof, four towers, and central gate. Concrete priorities help the system simplify the right details.
Upload the image and select the primary reference
Open the generation panel, switch to Start a new build, and tap the image button. You can add up to four candidate images. Choose the clearest angle as the primary reference; additional views can clarify colors or hidden structure.
Generate the 3D brick model
Submit the image and instruction. The workflow analyzes visual structure, creates a simplified 3D plan, maps shapes to available brick types, and returns an editable model. Larger or more detailed subjects generally require more parts and longer generation time.
Inspect Model, Manual, and Parts
Rotate and zoom the model to check its silhouette from multiple angles. Open Manual to review the assembly order and Parts to inspect quantities and colors. If a key feature is missing, describe one focused change instead of regenerating everything.
Export the result
Use Export when the model is ready. LDraw is best for compatible brick-design software, CSV is useful as a bill of materials, and JSON preserves structured project data for custom workflows.
How to improve the generated result
Make one controlled request at a time. Short instructions such as “make the front gate wider,” “change the roof to dark red,” or “reduce the base to 24×24 studs” are easier to evaluate than a long list of simultaneous changes.
Name visual priorities
Mention the silhouette, two or three signature features, target size, and colors that matter most.
Inspect before exporting
Check multiple angles, assembly steps, part counts, and unsupported or floating elements.
What image-to-brick AI cannot guarantee
A generated model can simplify shapes, choose uncommon parts, misread hidden geometry, or create an assembly that needs manual refinement. Treat the result as an editable design proposal, not an automatic manufacturing guarantee.
Single images do not reveal every side of an object. When accuracy matters, upload multiple angles and specify which image is the primary reference. Brick availability, color availability, clutch strength, and hand accessibility may also require human review.
Frequently asked questions
Can I turn any image into a LEGO model?
Most clear subjects can produce a useful starting point, but complex backgrounds, reflections, people, transparent objects, and hidden geometry may need extra reference views or manual refinement.
Which image formats are supported?
The current upload workflow accepts JPG, PNG, and WebP images up to 10 MB each, with up to four candidate references.
Can I download building instructions?
You can inspect step-by-step assembly in the Manual view and export project data, including LDraw, CSV, and JSON formats.
Is this an official LEGO product?
No. Image2LEGO is an independent fan-made brick design tool and is not affiliated with or endorsed by the LEGO Group.